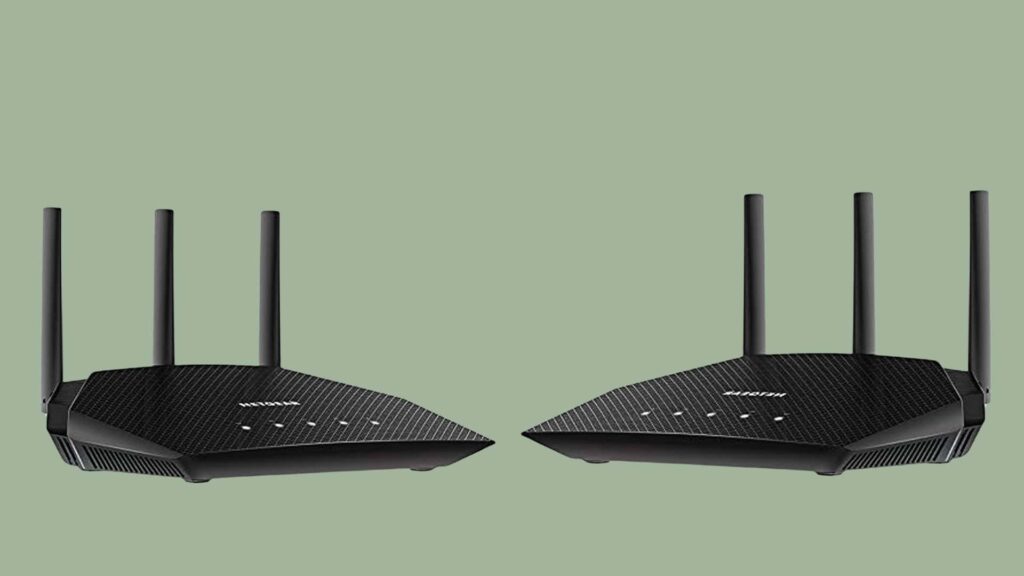
Do you want to setup a netgear wireless router but don’t know how to do it? Well, it’s a quite simple process. You can easily install your router in your home or office by following this guide.
In this guide, we have covered the installation process from basic to advance label.
First of all, we will discuss about what kind of environment or equipment do you need for setup. After that, we will understand the complete installation process.
What is the requirement to setup a netgear wireless router?
- A Netgear Smart WiFi router
- A modem (provided by your Internet Service Provider, or ISP)
- Ethernet cables
- A computer, tablet, or smartphone
- Internet connection details (like your ISP username and password)
How Do I Setup Netgear Smart Wifi router?
Step 1: Unbox and Connect Your Router
- First of all, you need to unbox your Netgear Smart WiFi router. Now plugin the power adapter and Ethernet cable. You will get both cables along with the router.
- Now Disconnect the power cable from your modem for fresh restart.
- Take an Ethernet cable and connect one end to the modem’s Ethernet port and the other end to the yellow Internet port on your Netgear router. It may also be known as WAN/ Modem port.
- Now Plug the power cord back into the modem and wait a few minutes for it to fully power up.
- Finally, Connect the router’s power adapter to an outlet and turn it on by pressing the power button on the back.
Once you will power on the router, you need to wait for the router’s lights to stabilize. Usually, it takes about 1-2 minutes.
The Internet LED on the front of the router should light up in a blue, green or white colour. The color may vary according to router’s model number.
If you are getting solid orange or amber light on the netgear router. You need to fix the connection between router and modem. After that, you need to power cycle the modem and router.
Step 2: Connect Your Device to the Router
Once you see the solid green or blue internet light on the netgear router, it’s time to connect your computer, smartphone, or tablet to the router’s network.
- For Wired Connection: If you are using a desktop or laptop that doesn’t have a wireless functionality. You can connect it to the router via ethernet cable. To do that, you need to connect one end of the cable to the computer and connect another end to the LAN port of the router.
- For Wireless Connection: If you are using a laptop or computer that has a WIFI functionality, you can connect it with the router via wifi. To do that you need to look for the default WIFI network name (SSID) and password on a label on the back or bottom of the router. Use this information to connect your device to the router’s wireless network.
Step 3: Access the Router’s Setup Page
Once your device is connected to the router, you need to access the router’s configuration page to complete the setup.
- Open a web browser (like Chrome, Firefox, or Edge) and type “www.routerlogin.net“ or “192.168.1.1” in the address bar, then press Enter.
- you will be directed to the Netgear Genie Setup Wizard.
Step 4: Follow the Netgear Genie Setup Wizard
The Netgear Genie is a setup wizard that guides you through the installation process step by step.
- Choose your Internet connection type: The Genie will automatically detect your internet settings. If it doesn’t, you may need to enter your ISP details manually (this information is usually provided by your ISP).
- Create your WiFi network: You will be prompted to create a new WiFi network name (SSID) and password. Make sure to choose a secure password to protect your network from unauthorized access.
- Complete the setup: After configuring your network settings, the Genie will test your internet connection to ensure everything is working properly.
Once the setup is complete, you will be connected to the internet, and your Netgear Smart WiFi router is now fully operational.
Step 5: Update the Router’s Firmware
To ensure that your router is running optimally and has the latest security features, it’s a good idea to check for firmware updates.
- In the router’s admin interface, navigate to the Advanced or Administration tab, then look for a section labeled Firmware Update.
- If a new firmware version is available, follow the on-screen instructions to download and install the update.
Updating the firmware ensures your router is protected against potential vulnerabilities and is equipped with the latest performance enhancements.
Step 6: Connect Your Devices to the New WiFi Network
Now that your WiFi network is set up, you can begin connecting your devices.
Use the new SSID and password you created during setup to connect your smartphones, laptops, tablets, and smart home devices to the WiFi network.
For office environments, ensure that all workstations, printers, and other equipment are connected to the network, either wirelessly or through Ethernet cables.
What To do If faces challenge during the installation process?
If you run into any issues during the setup process, try the following troubleshooting tips:
- Restart your modem and router: Unplug the power cords from both devices, wait 30 seconds, and plug them back in.
- Check the cables: Ensure that all cables are securely connected to the correct ports.
- Reboot your device: Restart your computer, smartphone, or tablet and try connecting again.
![How To Reset Netgear Router? [3 Methods To Do It]](https://askprob.com/wp-content/uploads/2024/10/reset-netgear-router.jpg)